
Introduction to the Best Flour for Homemade Pierogi Dough
When it comes to making homemade pierogi dough, the type of flour you use can make all the difference. As a home cook, I’ve experimented with various types of flour to find the best one for achieving the perfect pierogi texture. In this post, you’ll learn about the best flour for homemade pierogi dough and how to use it to create delicious, authentic-tasting pierogi. You’ll discover the ideal flour to use, the importance of using the right flour, and how it can elevate your pierogi game.
I still remember my first attempt at making pierogi dough – it was a disaster. The dough was too sticky, and the pierogi fell apart as soon as I boiled them. But after some trial and error, I found that using the right type of flour made all the difference. Now, I’m excited to share my knowledge with you, so you can avoid the mistakes I made and create perfect pierogi from the start.
Ingredients

To make the best homemade pierogi dough, you’ll need the following ingredients:
- 2 cups of all-purpose flour (preferably with a high protein content)
- 1/2 cup of warm water
- 1/4 teaspoon of salt
- 2 tablespoons of vegetable oil
- 1 egg, beaten (optional)
You can also experiment with different types of flour, such as bread flour or cake flour, to see how they affect the texture of your pierogi dough.
Step-by-Step Instructions

- In a large mixing bowl, combine the flour and salt.
- Gradually add the warm water to the flour mixture, stirring with a wooden spoon until a dough forms.
- Add the vegetable oil and continue stirring until the dough is smooth and elastic.
- If using an egg, beat it lightly and add it to the dough mixture.
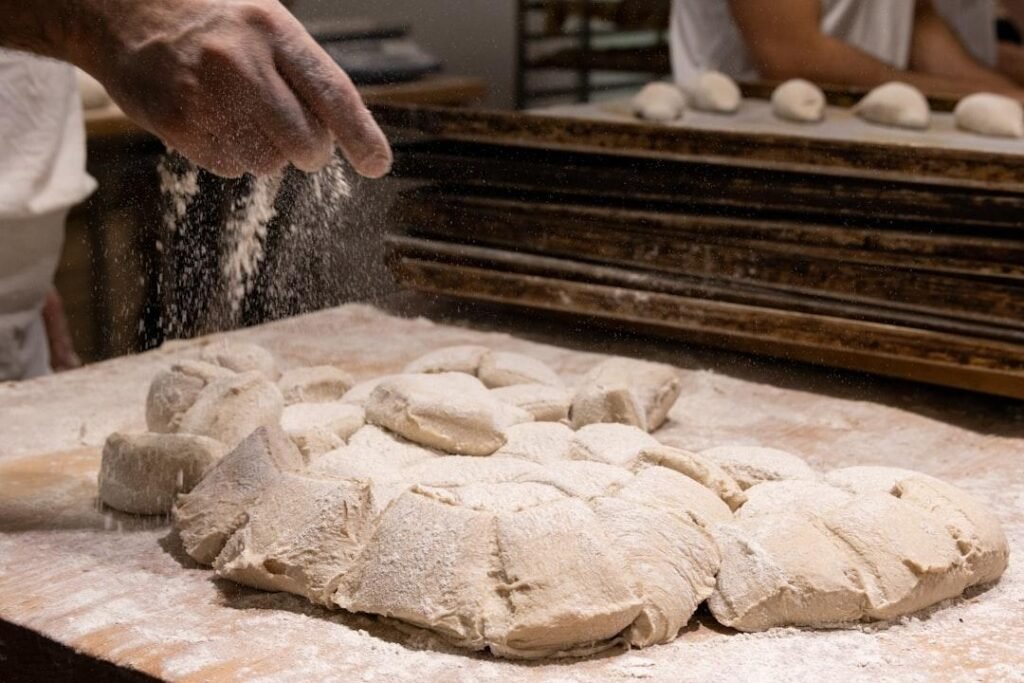
- Knead the dough on a floured surface for about 5-7 minutes, until it becomes smooth and pliable.
- Wrap the dough in plastic wrap and let it rest for at least 30 minutes.
- Divide the dough into smaller pieces, depending on how large you want your pierogi to be.
- Roll out each piece of dough into a thin circle, using a rolling pin or your hands.
- Place a spoonful of your favorite filling in the center of each dough circle.
- Fold the dough over the filling, forming a half-moon shape, and press the edges together to seal the pierogi.
Remember to be gentle when handling the dough, as it can tear easily. If you find that your dough is too sticky, you can add a little more flour. If it’s too dry, you can add a little more water.
Understanding the Importance of Flour in Pierogi Dough

The type of flour you use can affect the texture and flavor of your pierogi dough. All-purpose flour with a high protein content is ideal for making pierogi dough, as it provides structure and elasticity. Bread flour, on the other hand, can make the dough too chewy, while cake flour can make it too delicate.
Experimenting with Different Types of Flour

If you want to experiment with different types of flour, you can try using a combination of all-purpose and bread flour for a more robust dough. Alternatively, you can use a type of flour called “00” flour, which is finely milled and has a lower protein content. This can result in a more delicate, tender pierogi dough.
Tips & Tricks
Here are a few tips and tricks to keep in mind when making homemade pierogi dough:
- Use the right type of flour: As mentioned earlier, all-purpose flour with a high protein content is ideal for making pierogi dough.
- Don’t overwork the dough: Mix the dough just until the ingredients come together, and then let it rest. Overworking the dough can make it tough and dense.
- Use the right amount of water: The amount of water you use can affect the texture of the dough. If the dough is too dry, it can crack and break apart. If it’s too wet, it can be difficult to work with.
- Let the dough rest: Letting the dough rest for at least 30 minutes can help the gluten relax, making the dough easier to work with.
Serving Suggestions
Once you’ve made your homemade pierogi dough, you can fill it with a variety of ingredients, such as potatoes, cheese, meat, or fruit. You can serve them boiled, fried, or baked, and top them with your favorite sauces or toppings. Some popular serving suggestions include:
- Boiled pierogi with sour cream and chives
- Fried pierogi with caramelized onions and sour cream
- Baked pierogi with melted cheese and bacon
The possibilities are endless, and you can experiment with different fillings and toppings to find your favorite combinations.
FAQ
Here are some frequently asked questions about making homemade pierogi dough:
- Q: What type of flour is best for making pierogi dough? A: All-purpose flour with a high protein content is ideal for making pierogi dough.
- Q: Can I use bread flour to make pierogi dough? A: While bread flour can be used to make pierogi dough, it can make the dough too chewy. All-purpose flour is a better option.
- Q: How long can I store homemade pierogi dough? A: You can store homemade pierogi dough in the fridge for up to 2 days or freeze it for up to 2 months.